COOPERATION

CUTTING

(laser)

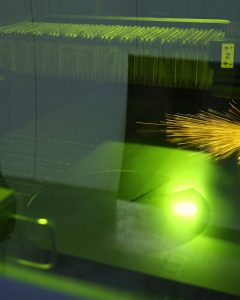
Laser cutting is a technology for efficient cutting of materials, which consists in the generation of a large amount of energy by the laser radiation generator, focused on a small area.

LASER CUTTING

Laser beam cutting takes place over a very small, precisely defined area. The final products are characterized by a very high quality of the edges (without any additional processing) and, most importantly, 100% repeatability.

We use laser cutting:

The CO2 type laser gives the possibility to cut a variety of materials using a laser beam that is generated in the carbon dioxide medium. Cutting with a CO2 laser is characterized by a very small heat affected zone and a relatively narrow cutting gap. The fired elements are characterized by clean and perpendicular edges and small irregularities of the separation surface.

Fiber technology is a solution that has revolutionized the laser cutting market. Compared to CO2 technology, it is much faster and allows to achieve much better results, especially very dynamic and fast cutting of thin sheets. In addition, Fiber technology provides the highest dimensional accuracy by eliminating burrs and the absence of material overheating.

CO2 TYPE LASER

TYPE OF MATERIAL Black steel, stainless steel, galvanized sheet metal, aluminum,
THICKNESS OF CUT MATERIAL 0,5 mm – 5 mm
DIMENSIONS OF THE MATERIAL TO BE PROCESSED 1500 x 3000 mm
ACCURACY OF CUT +/- 0,1 mm

FIBER TECHNOLOGY

TYPE OF MATERIAL Black steel, stainless steel, galvanised sheet metal, aluminium, copper, brass
THICKNESS OF CUT MATERIAL 0,5 mm – 5 mm
DIMENSIONS OF THE MATERIAL TO BE PROCESSED 1500 x 3000 mm
ACCURACY OF CUT +/- 0,1 mm

COOPERATION

CUTTING

(3D laser)

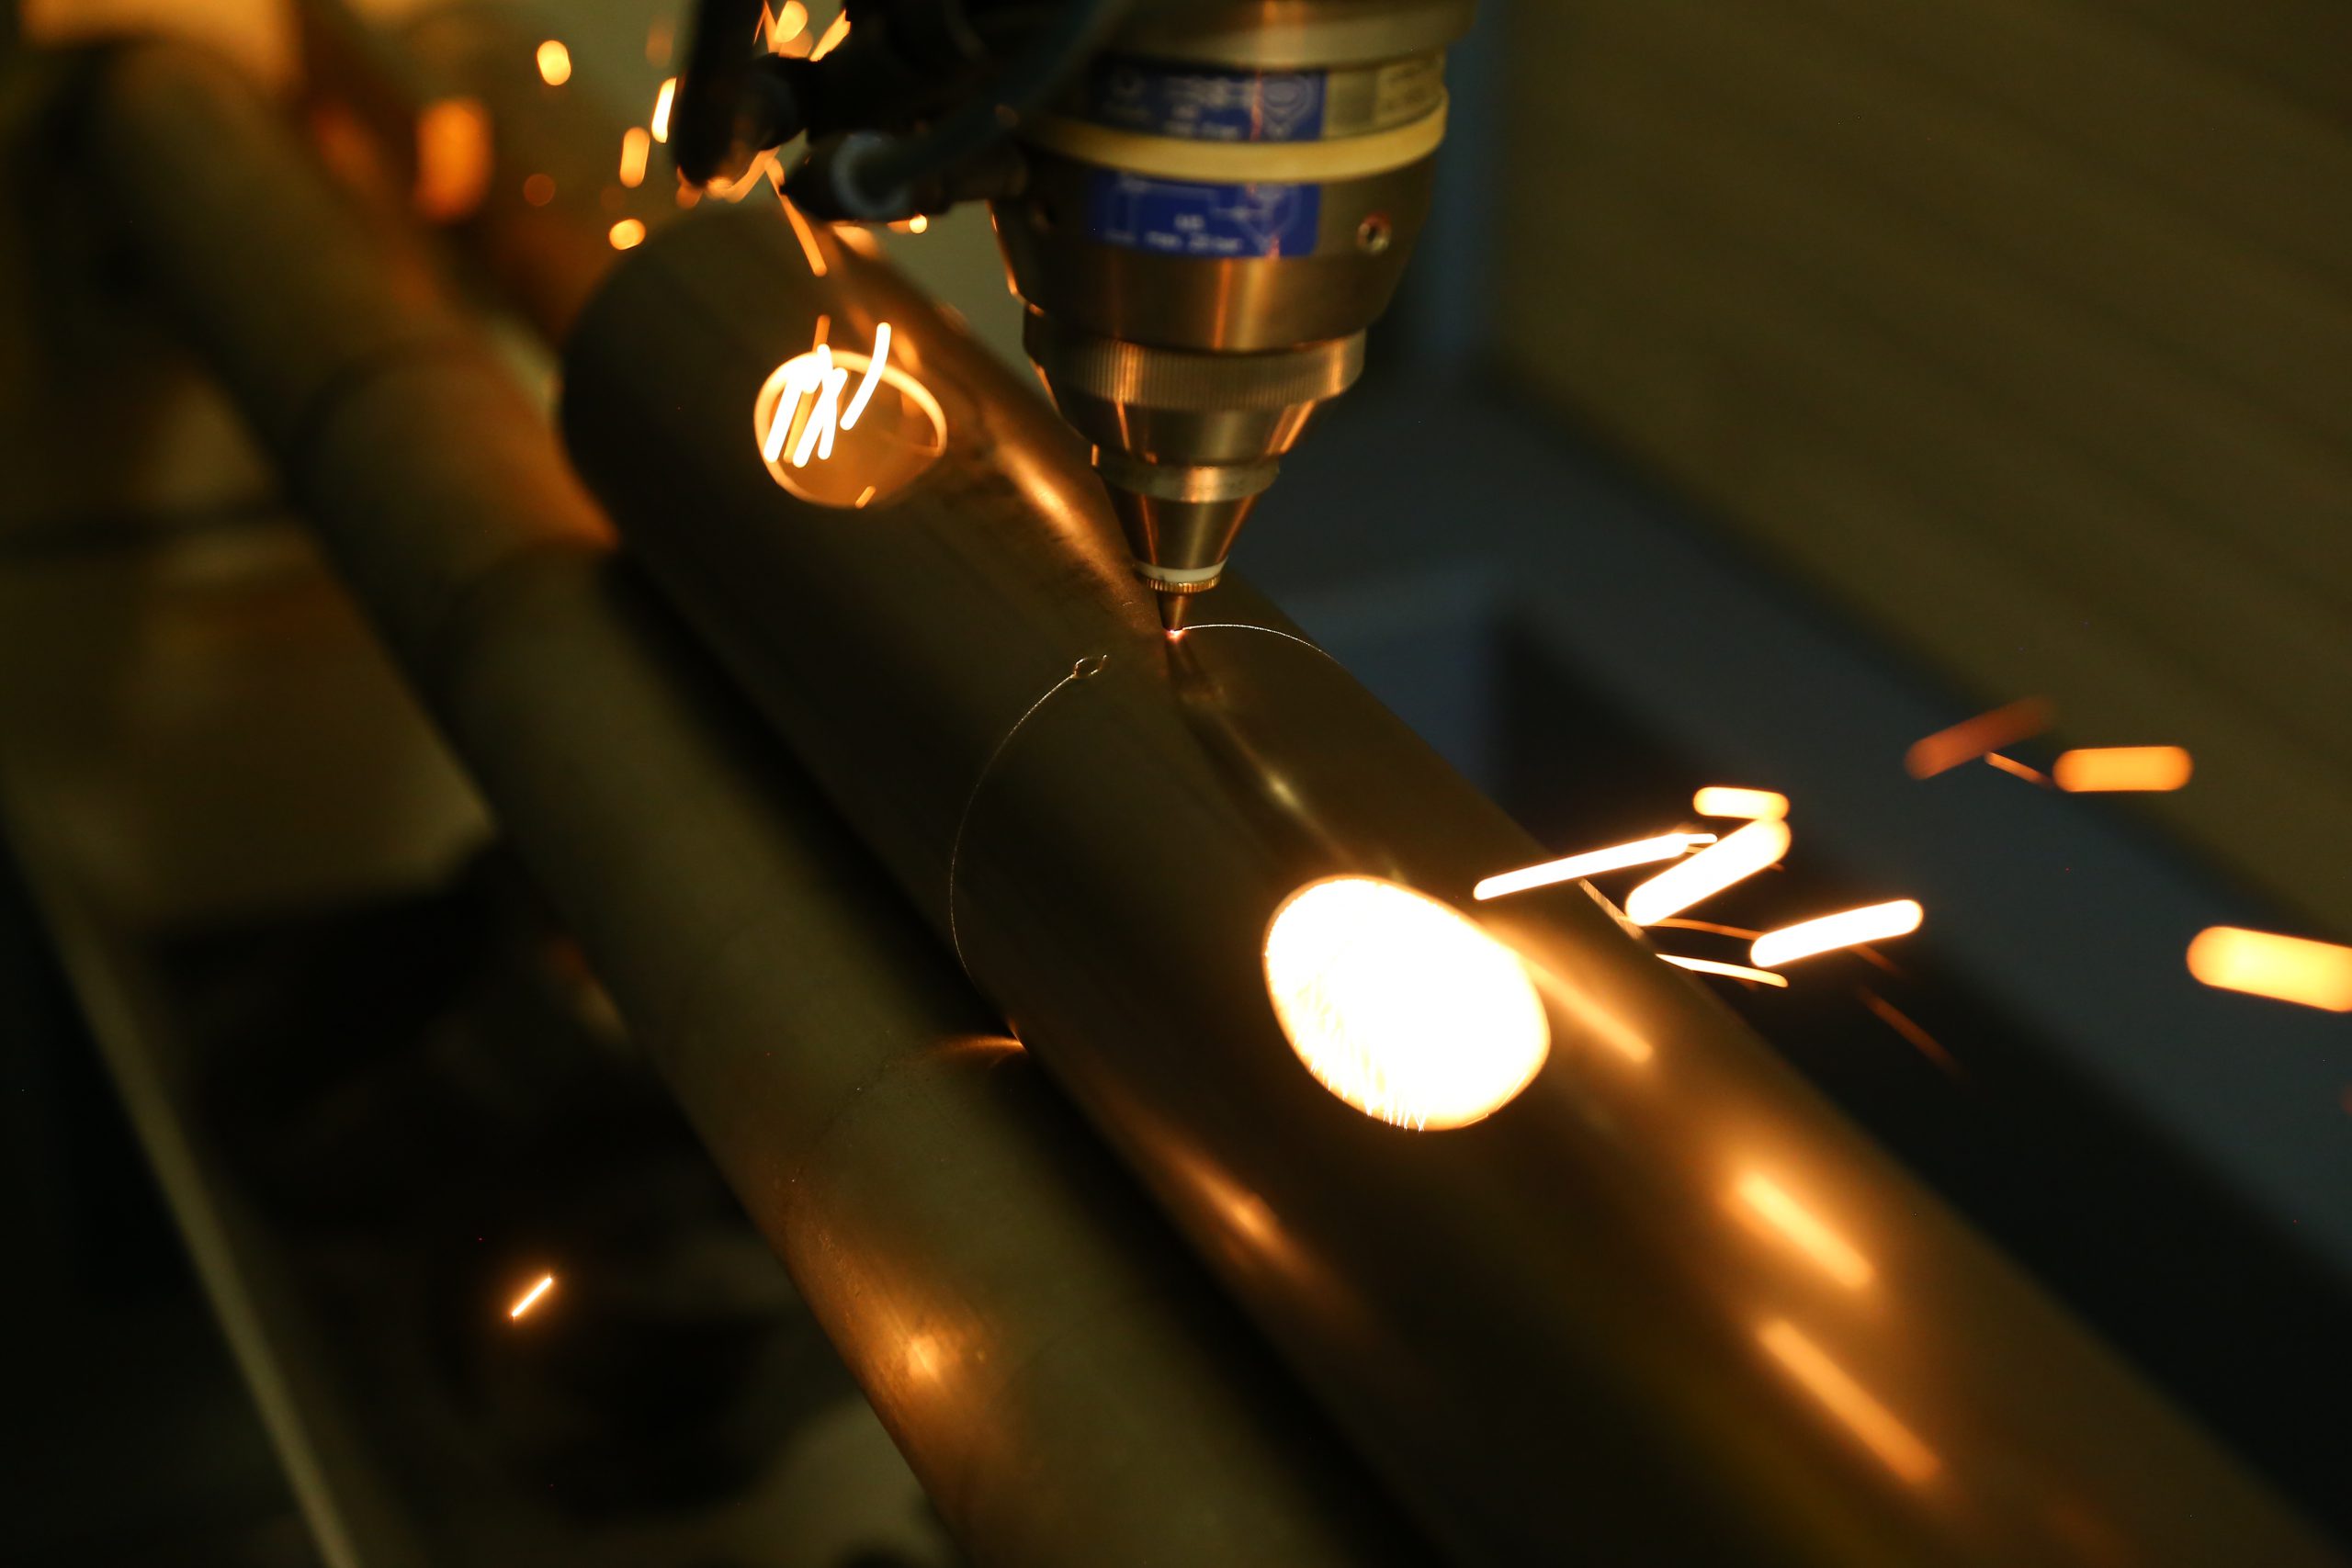
3D cutting is a technology that enables the cutting of complex shapes in profiles and pipes.

3D LASER CUTTING

3D cutting consists in cutting out shapes of any size in the pattern. Depending on the technology, the process uses a plasma electric arc or laser beam.

For 3D cutting we use:

3D plasma pipe cutting machine – allows you to cut complicated shapes while maintaining high quality edges. The cutting process is carried out with a plasma arc which melts the material and then ejects it from the cutting slot.

1kW 3D laser with a space cutting robot – the device allows for precise cutting with clean and smooth edges. Cutting with 3D laser guarantees repeatability of shapes and dimensions with high efficiency.

TECHNICAL DATA

1kW 3D laser with space cutting robot

MAX. DIMENSIONS 600 x 600 x 800 mm*
MAX. BENDING THICKNESS 2 mm

*depending on the detail

3D plasma pipe cutting machine

MAX. WORKPIECE DIAMETER 600 mm
MAX. WORKPIECE LENGTH 1500 mm
MAX. CUTTING THICKNESS 2 mm

COOPERATION

CUTTING

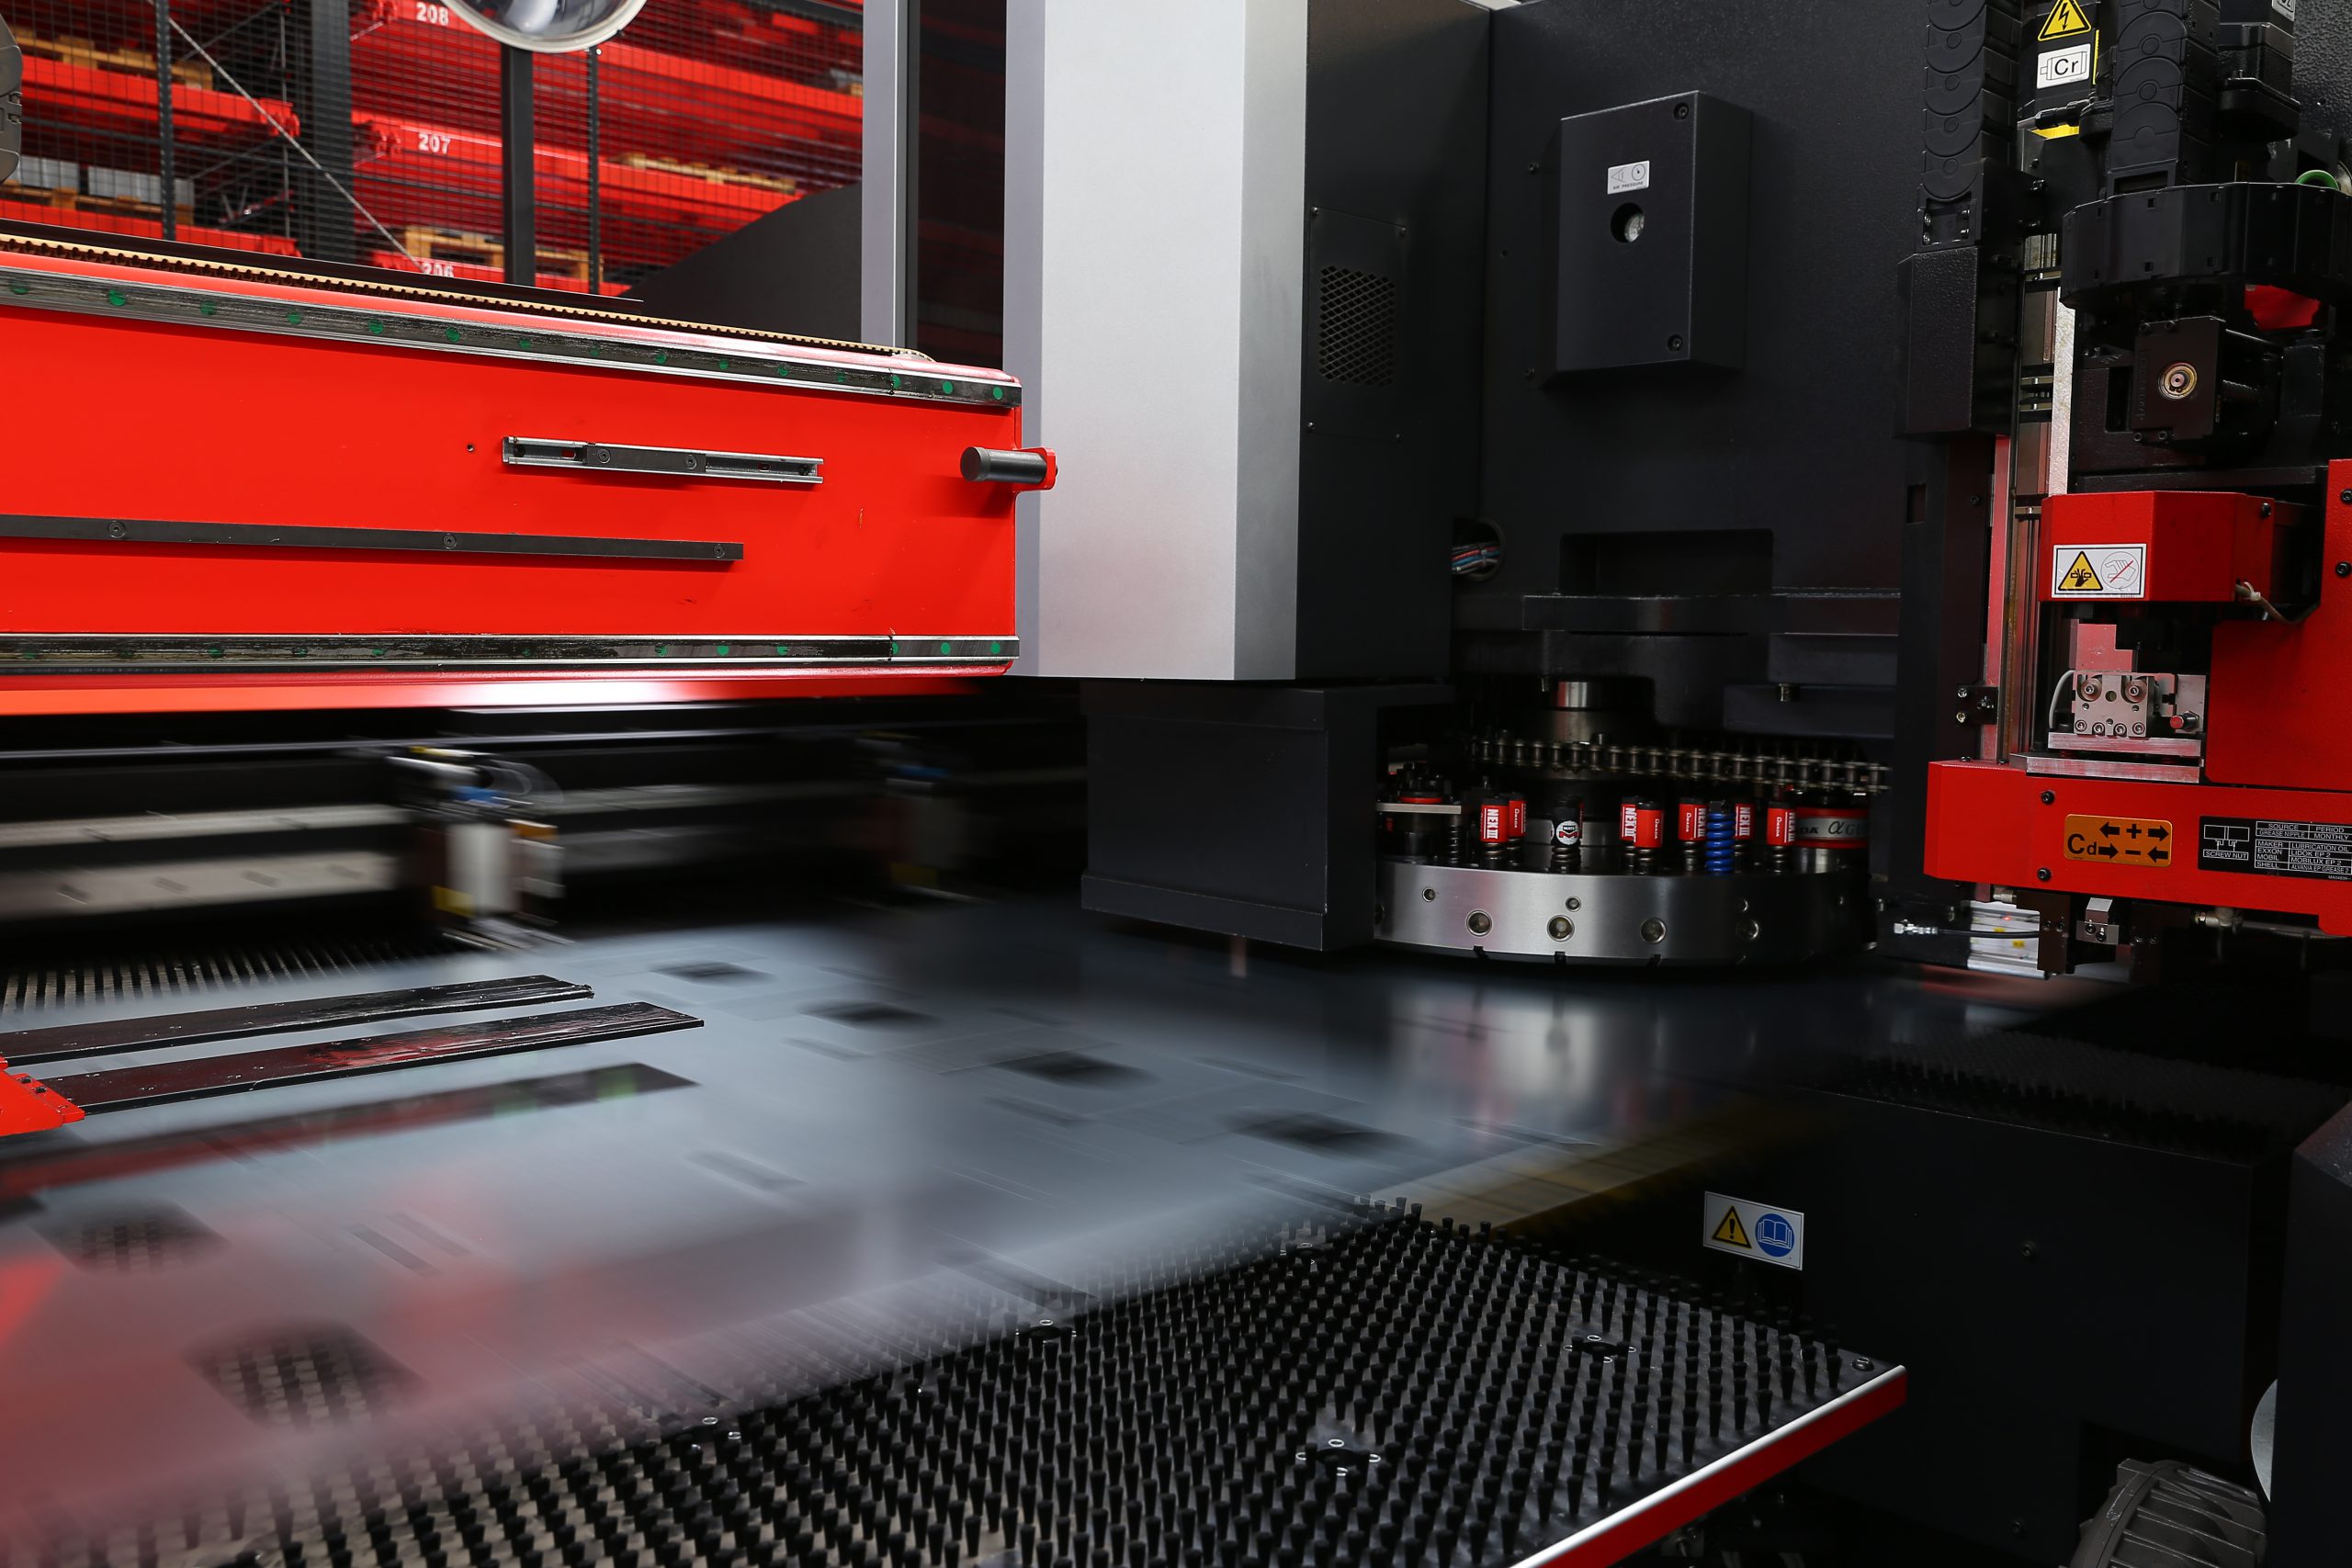
Punching is the process of cutting out from sheet metal of any shape, by means of a tool called a punch, which is a reflection of the shape of the element being obtained.

The punching technology allows to shape simple elements and the most complex ones requiring high dimensional accuracy. The process allows to produce a large number of elements in a relatively short time.

WE USE TO CUTTING:

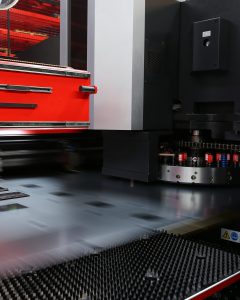
The AMADA AC 2510 NT– punching machine – has a brush table that prevents scratches. The punching force is up to 200 kN. The punching machine is characterized by high positioning and punching speeds, which translates directly into high performance.

The AMADA EM 3612 ZRT– punching machine is equipped with an automatic tool changer, which ensures maintenance-free and thus extremely efficient production, using several hundred tools. Thanks to the use of a brush table, the risk of sheet metal scratches is eliminated.

AMADA AC 2510 NT punching machine

TYPE OF MATERIAL Black steel, stainless steel, galvanized sheet metal etc.
THICKNESS OF CUT MATERIAL 0,5- 2 mm
DIMENSIONS OF THE MATERIAL TO BE PROCESSED 2500 x 1270 mm
POSITIONING ACCURACY +/- 0,1 mm

AMADA punching machine EM 3612 ZRT with automatic tool changer

TYPE OF MATERIAL Black steel, stainless steel, galvanized sheet metal etc.
THICKNESS OF CUT MATERIAL Max. 3 mm
DIMENSIONS OF THE MATERIAL TO BE PROCESSED 1500 x 3000 mm
POSITIONING ACCURACY +/- 0,1 mm

COOPERATION

QUALITY CONTROL

(scanner)

Quality control with a scanner is one of the fastest and most accurate ways to compare the recorded image of the actual semi-finished product to a standard.

The measurement is performed by scanning the real image with a CCD camera and comparing it to a CAD drawing. Any discrepancies between the pattern and the reality are displayed graphically on the device display a few seconds after the element is scanned.

We use quality control:

– The AMADA VQC-1220 optical measuring machine is designed for use in production. It is used to verify the correctness of the performed cutting or punching operation.

TECHNICAL DATA

AMADA VQC-1220 optical measuring machine

MEASURING SURFACE 3000 x 1250 mm ≠3 mm
ACCURACY OF MEASUREMENT 50 µm